
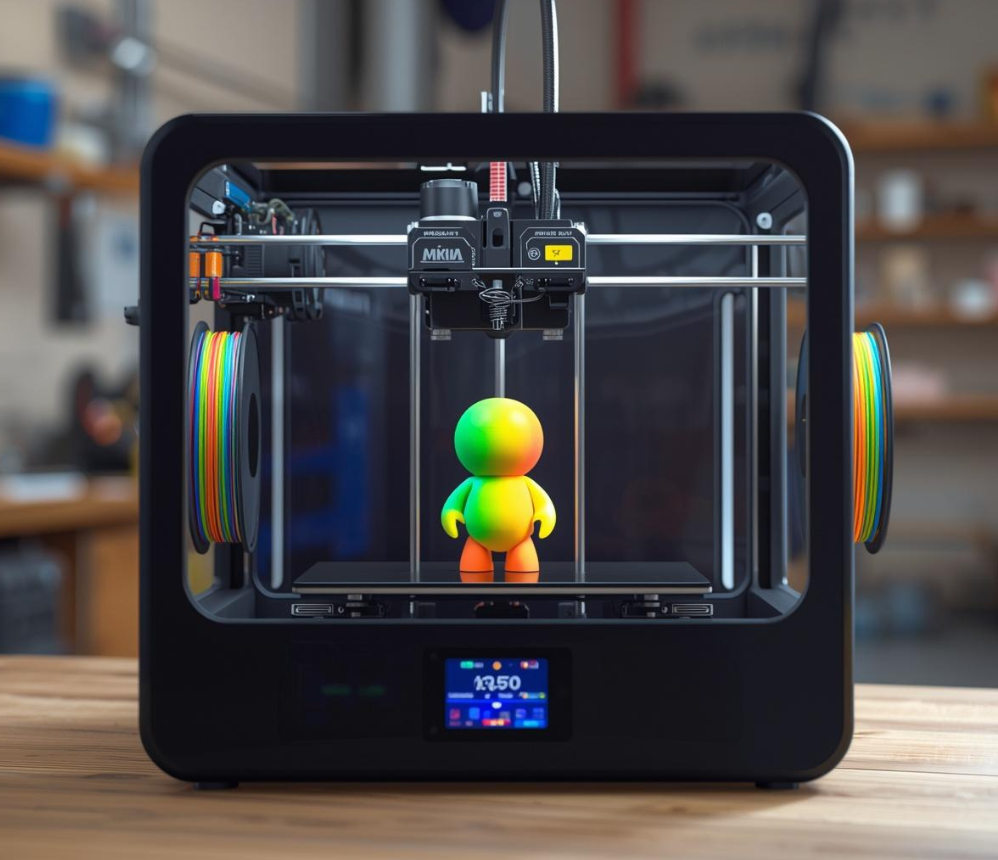
Ever wonder how a digital file becomes the toy sitting on your desk? The process is more fascinating than you might think — and it's one of the things that makes 3D printed products genuinely special. Here's how a Flipp 3D toy goes from concept to your hands.
Step 1: Design. Every product starts as a 3D model, created in software like Fusion 360 or Blender. Designers think about function first — how will this toy move, feel, and hold up over time? They consider the physics of moving parts, the ergonomics of how it sits in a hand, and the aesthetics of the final piece. This stage can take hours or days of iteration.
Step 2: Slicing. Once the design is finalized, it's run through slicer software that converts the 3D model into a set of instructions for the printer. The slicer decides the layer height, infill pattern, print speed, and support structure placement. A good slice is the difference between a perfect print and a failed one.
Step 3: Printing. The printer reads the instructions layer by layer, depositing material in precise paths to build the object from the bottom up. Depending on the design, this can take anywhere from 1 to 15+ hours. The printer must be monitored for the first few layers to catch any adhesion or warping issues early.
Step 4: Post-processing. Once off the printer, the toy is cleaned up — support structures are removed, any rough edges are smoothed, and the piece is inspected for quality. Some items get additional finishing steps like sanding or painting.
Step 5: Quality check and packaging. Before shipping, every piece is inspected and tested. Moving parts are checked for smooth operation, dimensions are verified, and the finish is reviewed. Only pieces that pass go into the box.
At Flipp 3D, we take pride in every step of this process. When you open your order, you're holding something made with real craft and care.


